Showing posts with label Plane. Show all posts

Thursday, 15 November 2012

My own shaving maker

After lunch it was back to the shop to assemble the plane.  This process was invaluable as a learning experience.  In the past my gluing up process has been very jump in and get it done.  David tired to tame me of my wicked ways and explained the benefits of a proper dry run glue up and caul use.

Unfortunately I did not take a lot of pictures of this process sorry.  During this process the alignment pins were invaluable; instead of worrying about lining all the pieces up all I had to do was focus on getting the cauls and clamps on.

After the dry run it was glue time.  Another great tip from David was how to make a simple glue spreader with a piece of scrap wood and a few saw kerfs; I will definitely be making something like this for myself.

With the plane in the clamps it was on to shaping the plane hammer to go with the plane.  For those of you who do not know small hammers (plane hammers) are used to adjust wooden planes.  I roughed out the shape on the bandsaw and then over to the bench and refined the shape with rasps, files and spokeshaves.

Pinched in the tail vise and using a spokeshave
to shape the hammer handle

And with that my first day was done.

Day two started nice and early as well more tea and beautiful weather made the shop even more spectacular.

First thing was to take the plane out of the clamps and see what I had.  At this point the plane was more or less a big block of wood but it did look good.  The next step was to set up plane for sole flattening.  To do this I had to make a temporary wedge so to tension the plane as it is flattened: first on a jointer then on sandpaper.

The plane blank just out of the clamps


With the sole flat the next thing was to make the final wedge with the plane iron.  The fit of the plane iron and wedge is critical to the function of the plane.  The wedge cannot be to tight or to loose and the fit must be consistent between the iron and the cross pin.

Using a block plane to fit the wedge

The finished wedge

With the wedge done it was time to try taking a shaving.

The very first shaving

The second shaving

After the initial test it was time to shape the plane.  This part was fun: rasps, files, and spokeshaves.


After the shaping it was lunch time again, and after lunch it was time to play with the new plane.  And with that my plane building experience was finished.  The day finished off with some conversation between David and I.


A great experience and a wonderful learning experience.  My deepest thanks to David Finck.

Cheers
Hans Christopher

Wednesday, 14 November 2012

Among Trees and Mountains

Here among the mountains and trees of North Carolina I was able to spend a few days working with one of the modern masters of woodworking.  If you haven't heard of David Finck, please get out from beneath the rock under which you have been living, look him up on the Internet (<---- use the link here), read his book, spin around three times and spit...DONE...good.  My apologies to the non woodworkers if insulted you; I do not really expect you to know David Finck or his work, still look it up its freaking awesome.


David studied at College of the Redwoods under James Krenov (again if you do not know James Krenov please repeat above procedure) and now builds fine furniture, guitars and offers workshops on woodworking at his shop in North Carolina.  I was lucky enough to be in the area and to take a two day workshop with David on plane making.  I had previously read David's book (which is amazing) on plane making (however it does talk about much more than just plane making) and wanted to build one of these planes, yet I was a little apprehensive about the procedure so I decide a one on one class would be just what I needed.  And boy was it an amazing experience,  I had an incredible time and learnt much more than just plane making.

Day one started nice and early on a rainy day (no better day then to be in the shop).  Right off the bat David was incredibly friendly and hospitable with a nice pot of tea ready to go.  With tea in hand it was off to the shop.  My jaw hit the floor entering his shop, woodworking Nirvana: high ceilings, lots of natural light, gorgeous tools, amazing wood and drop dead beautiful furniture pieces.

First thing on the agenda was a little sharpening discussion and block plane setup.  I wish I had been able to bring my own tools for this workshop but David was very kind and let me borrow his which was awesome.
Plane blank and assorted tools

The plane is made from some rift sawn red oak that came from David's late father (which for me is an incredible honour).  David had the blank roughed out and ready to go, so the first task was to layout some lines and cut the front piece and back piece on the bandsaw.
The back ramp and front piece laid out with pencil
using a combo square and protractor

Bandsawing the two needed pieces

With that done it was time to true up the ramps so that the plane iron would rest perfectly.
Using a block plane to true the ramp

A strafing light to help judge the ramp surface,
its needs to be dead flat, and the light shows any
dips or bumps or rough spots

Next up the drill press to drill some holes for alignment pins.  These pins are merely an aid to help with the glue-up.
Clamps hold the plane together when drill for the
alignment pins

Hand sawing and chisel parring to flush off the dowels

Next step was to rout a slot in the iron bed to allow for the chip breaker screw.  David had a jig and router setup for which made this a breeze.

After the alignment pins the cross pin was next.  In retrospect this was maybe the most complicated part of the whole build, but with a good set of directions and David's help it was no problem.  With the hole drilled it was onto a bit of shaping to get the cross pin to fit in the holes and to make it look pretty.


With that all done the plane was ready for glue up after lunch.

Cheers
Hans Christopher

Thursday, 18 August 2011

What's Coming Up The Roots

OK sorry for the delay in posting but I was sick one day and then got backed up with work and I am still getting the hang of my posting schedule.  So let me start there with explaining what I hope to do with these posts.  My plan is to post 7 times a month, 4 Sunday posts and 3 Wednesday posts.  The mid week post will be a smaller post usually on some random topic I can think of and demonstrate.  And the weekend post will be a following of what ever project I am working on at that time.


So what do I have planned.  For people other then myself I have a few refinishing projects to do, some of which are already started some of which are still to begin.  One cool project that is both for myself and for others is a hall bench.  I am sure as time progress more projects will arise.  However the projects I have planned for myself really get me excited.


First every month from September to December I plan to build one hand plane a month.  Three wooden planes in the krenovian style.  I have recently finished reading David Finks book Making & Mastering Wood Planes which I would recommend as a read to anyone interested in wooden planes.  I plan to make three wooden hand planes.  Which three I am not entirely sure of yet but I would like to make a smoother for sure. I would also like to make a jack plane, I do own a jack plane already but because jacks are so versatile that multiple jack planes allow for multiple plane setups that allow for more efficient productivity.  The final plane I am not sure of yet, I am considering a spokeshave,  yes a spokeshave is a plane, or some specialty plane such as a rabbeting plane or a grooving plane.  However it is the fourth and final plane that is really exciting to me and also a little terrifying.  I would love to make an infill plane either a smoother or a jack plane.  Not sure if this idea is foolish or brave, maybe a little of both but I am excited to give it a go.


Besides that plane making I plan to make a tool box based on Tom Fidgen's cabinetmakers toolbox featured in his book Made By Hand.  Also inspired by Tom is a dedicated sharpening bench, and the final project for myself that I plan to build over my Christmas break is to build a traditional workbench... with a twist.

I hope to bring everyone along on my woodworking journey over the next four months and beyond.


This week sees the end of my most recent project, the project that started this entire blog.  The cabinet door comes to a conclusion.  This past week so the panel get its final surface prep with the use of smoothing planes, card scrapers and sandpaper.
Resawing the face frame stock down to 3/8"
After the door was all prepped for finished I moved on to the face frame for the cabinet, a very easy task in comparison to the door.  I started by resawing some maple stock and then dimensioning it to the appropriate size.  Then like on the door cut some mitres and then shoot the mitres on my shooting bored (have I mentioned how much I love that bored).  Then a little glue and its also ready for finish.

Planning to final dimension
The finishing process started with finding an appropriate stain that matched the existing vanity.  After finding the perfect colour I applied it using a foam brush.  I let it soak in for about 10 minutes then using a clean Cotton rag I wiped off all the extra.  The final step is to apply the polyurethane.
The Finished Door and Face Frame

So with that I come to the end of the first project I have blogged about.  Till next time

Cheers
Hans Christopher

Sunday, 7 August 2011

Patience Equals Perfection

So it has been a week now since I announced that I have made the move to hand tool only woodworking and I am loving it.  The transition is a little cumbersome, having to find homes for some of my machines was difficult but worth it.  The amount of space I have now is amazing plenty of bench top room to work and another whole surface just to put pieces done and do some assembly.

So what has gone on inside the shop this past week, a fair bit but unfortunately not as much as I had hoped.  Lets take a look shall we.

The first post of the blog had me explaining the process of making a bead molding for a door frame I am working on.  This week sees the completion of all the parts ready for final fit and finish.  I began with the raised panel.
Cutting the rabbets to define the tongue to go into the rail and stiles and the edges of the raised profile.
Using a molding plane cut the profile in the long grain and end grain of the panel.

Using my Veritas Bevel Up Jack Plane with a 50 degree iron i smooth panel.  Then using a card scraper I clean up the tea rout and the finally hit all the profiled areas with some 180, 220 and 320 sandpaper.

A few notes about the raised panel.  For my first raised panel it's not bad, saying that there is lots of room for improvement and I look forward to showing everybody how I make a profiles using molding planes.

The next part of the project was getting the mitres on the rails and stiles to fit nice and tight.  I cut the mitres using a sliding compound mitre saw (I made these cuts before I went all hand tools) and they came out poorly.  The mitre was very close to a perfect 45 degree however every cut had a bevel making a tight mitre very difficult.  Luckily using hand tools I knew how to correct this issue.  I used a shooting board and my jack plane to shoot the mitres to get some nice fitting joints.  However I did have to build a mitre shooting board first, not a hard process.  If people wanna learn how I made the shooting board leave a message in the comment section below, and saying please helps.

A ugly open mitre (looked worse in real life)
Shooting the mitre

nice tight closed mitre (looks better in real life)

And the nice shooting board I made so worth the 3 hours it took to make
While using the shooting board something to remember is to be patient.  The first couple of cuts I made i had the plane set real heavy and tried to rush resulting in a very harsh and sudden stop of the plane, hurting my wrist and marring the work, so as with all woodworking patients pays off.


So starting tomorrow I can begin the final assembly and then all that is left is to put stain and finish on it.


And a few more pictures from my trip to Italy.  Enjoy.

Till next time cheers.
Hans Christopher

Sunday, 24 July 2011

A Good Place To Start

OK so let me say this first,  I suck at blogging.  This is my third attempted now at writing a blog and I have no illusions of this going better then the previous attempts, and that's all I am going to say about the blogging.  Now on to the meat of the issue woodworking.

I recently finished a bathroom renovation that turned out pretty well, pictures should follow soon if the blogging thing goes well.  The last part of the project is to build a medicine cabinet that matches the vanity.  The cabinet is just a simple particle board box that is existing from the bathroom, my job is to build a new solid wood door that matches the profiles of the doors on the vanity.  I have never built a raised panel door before and I have never done such a project using so many hand tools. Should be interesting.  This is how it's going.

One aspect of the rails and stiles of the door is a bead detail.  I believe that normally when making a bead or a round with hand tools someone would use a molding plane of the specific radius.  I do not own any molding planes yet, I hope to own some soon.  So I made my bead using a block plane and some sandpaper and inlaid it into a grove I cut into the rails and stiles.  The first step was to layout the 3/4" diameter circle on both ends of the maples stock I am using, this was done using a simple pencil and a drafting circle template.  After drawing on the circle I added some lines to act as visual reference.  The first line is in the centre of the stock and the second lines are at 3/8" in from both edge and down each of the stock.  These lines represent the large chamfers I will plane first to start to establish the circular profile.  With that said it's time to make some shavings.

Using my block plane set for a fairly aggressive cut I begin to shape the round profile.  I first plane the chamfer between my two  3/8" marks.  Then I keep making more chamfers that are less and less severe.  At this point I am also not trying to get right down to my circles I drew earlier.  Working with hard maple, that actually had some beautiful section with some curl (lucky me), using a low angle blade and a heavy cut can tearout a bit, so the next step is to reset the block plane to take a very light cut.


With the plane now taking a lighter cut I find it much easier to tame the tear out.  Now I can work my way down to the circles I laid out.  Also with the lighter cut the facets left by each plane pass are smaller helping to create the round profile.


With the profile more or less set it's on to the final steps.  To remove all the little facets if work through progressively finer sand paper.  I start with some 120 and work up to 220.  I'm not entirely sure on my finish for this piece yet so I might sand higher if I chose to use an oil finish.  However because this is a bathroom piece I am thinking that using a finish that acts as a sealer would be a good choice.  I recently purchased some general finishes water based varnish and I think this would be a great time to try it out.

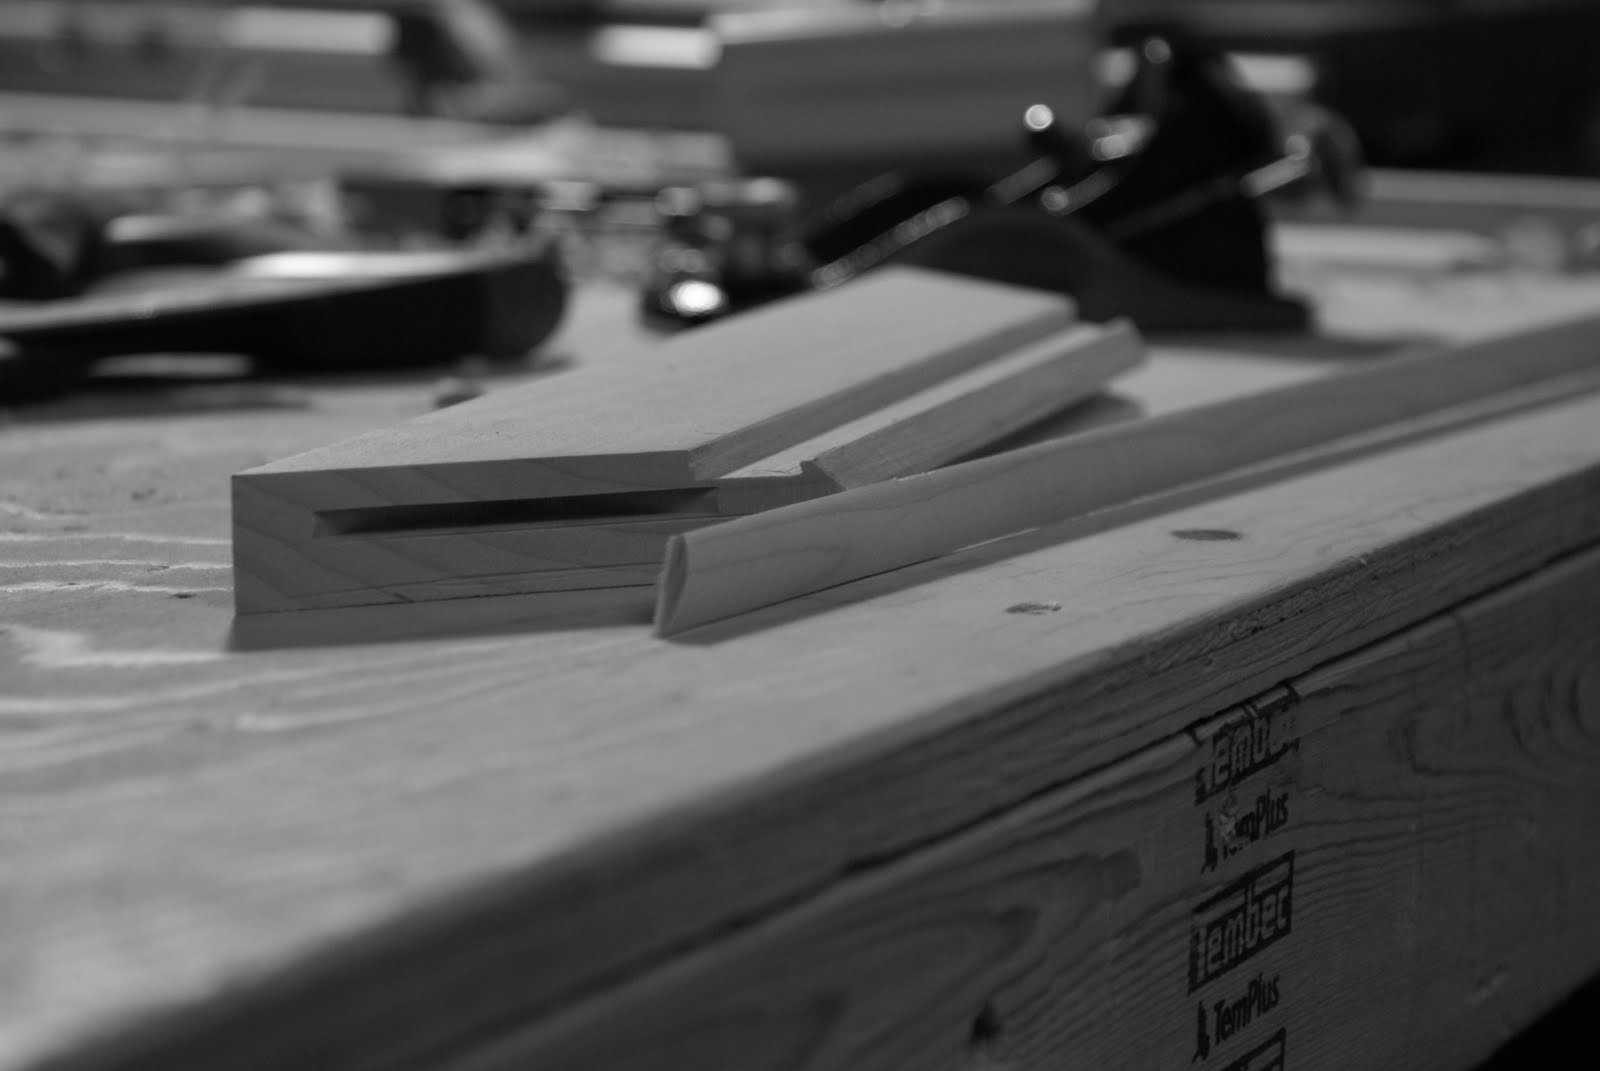
With the profile all done its on to the tablesaw to cut the profile off of the maple strip I was using.  The grove I am putting the profile into is only at 1/2" wide.  So when I set up the fence on the saw I am trying to line it up so I am left with a half inch thick strip with a 3/4" profile.


So with that the profile is done.  Next is to fit the profile into the rail and stiles and after that its on to the raised panel.  But that is for another time.

Cheers