So I have decided that I am going to go out on my own and start my own carpentry company. I love all things woodworking so making it my career is a total no brainer to me, so stay tuned to see how that all evolves.
To make the transition to full time pro woodworker and not just a weekend hobbyist I have made a few changes to my shop (a commandeered portion of my parents basement). A little more space, some rearranging, and getting rid of junk should help make this space more effecient and usable.
Here you can see the other side of the space I use which is full of my familys stored items. YAY for shared space. At least I don't pay rent.
The General layout of the shop
The newest area of the shop is a combined Finishing and Metal working area (also where I sharpen tools). It is an L shaped section of cabinets (repurposed after a Kitchen remodel), non of the cupboards actually contain any woodworking or construction supplies (more family storage).
Left to right; lapping plates, machinist vise, saw vise, high speed grinder.
In back all my finishes I keep in stock.
The sharpening station. The tub holds my stones submerged in water so they are always ready to go.
Tool Chest for metal working tools (files, punches, cold chisels, etc.)
Next is my computer/ drafting station. This area see little use and will probably in the future be removed to make space for a bandsaw. I do most of my design work upstairs on a small portable drafting table and on a larger desktop computer.
Above my laptop is a Small bookshelf (made of scraps) to hold all my woodworking books and magazines.
Next up is tool storage above and left of my drafting station. I have two boards of peg board hanging of the basement framing, eventually I would love to have something more like
this or like
this, but for now this works. I've got everything from wrenches to planes on these boards. I do like that the peg board is easy to rearrange to change with new tools. I still need to move a few things around to make them easier to get at, and I would like to group similar tools together. Small side note the long shelf is a piece of baseboard on brackets, YAY for recycling.
Next, below the peg board is one of my two benches. This is the first bench I ever built, it doesnt work great for some tasks but this is where I started my woodworking journey. Now this bench will be used for power tool work and assembly.
The Bottom Shelf holds mostly power tools (ie. planer, router, sanders) but will eventually store all my on site tools as well (once I purge all the crap out from under there).
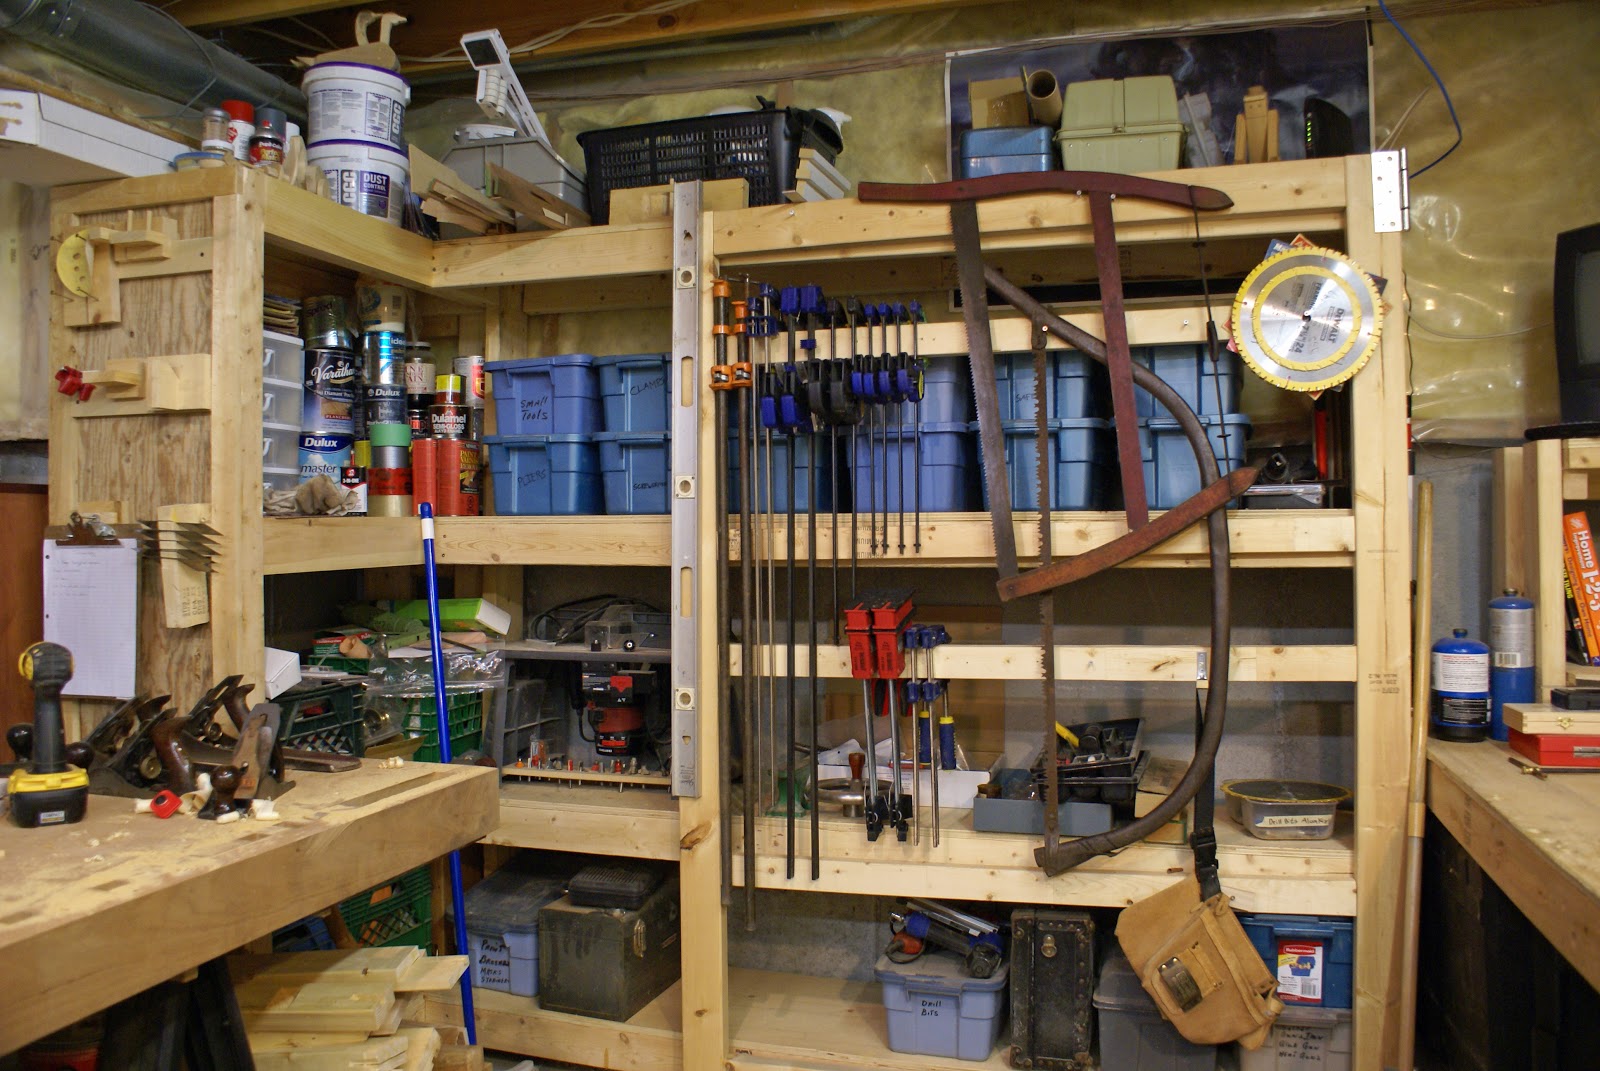
Next up shelves of tools. Pretty self explanitory, most of my tools are stored on these shelfs, as well as supplies and hardware. The gate on the front which holds the clamps is on hinges so that it get out of the way when I need somethign from in behind.
The left side of the shelving unit also has some french cleat storage.
Finally we come to my new bench (or bench in progress). A more traditional bench, with a tail vise and eventaully a leg vise.
The workbench half done. Top needs to be flattened.
And a base made to get it off the saw horses.
A bin for shavings my saw bench and bench hooks.
Lumber storage was a problem in here. I have a small are of 8 foot high cielings where I store any sheet goods and long sections of lumber.
I used the exposed joist bays to store some smaller pieces of lumber.
Finally we have my table saw station. I used a small portable Dewalt table saw on a work mate table, and for the most part it works great. I am right now refurbbing an old 8 inch Delta contractor saw which will become my main table saw and the Dewalt will be my own site saw (as it should be).
A mobile base would be nice.
So there you have it my shop in all its glory. It is a wonderful place that I love working in. It is constantly evolving and changing to fit my needs. If you want to see more of it leave a comment or any questions same deal and I will get back to you.
Cheers
Hans Christopher